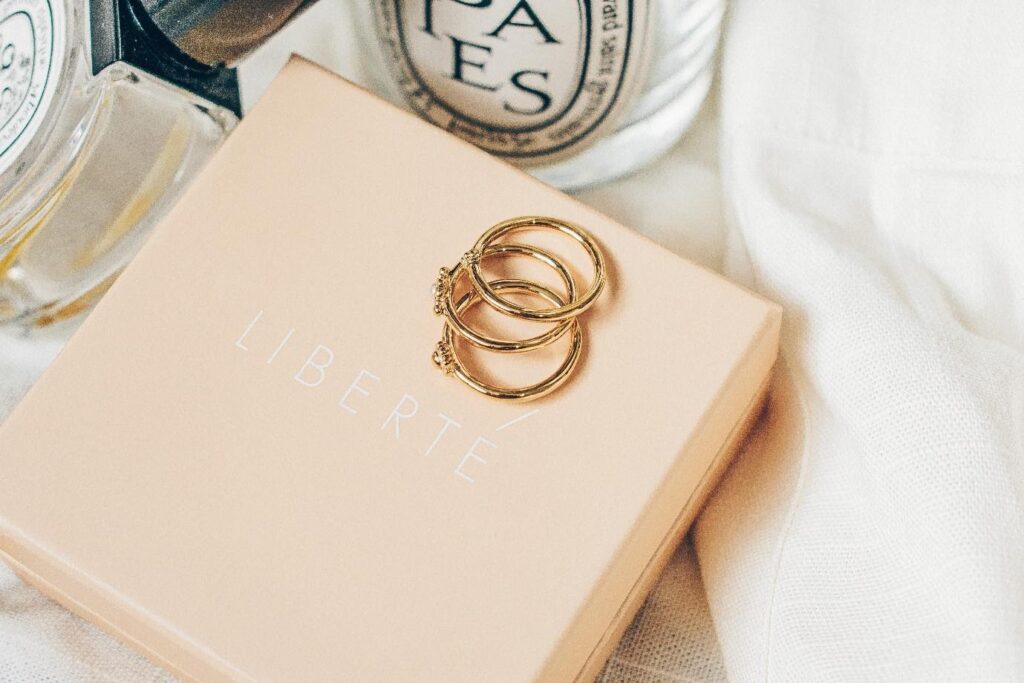
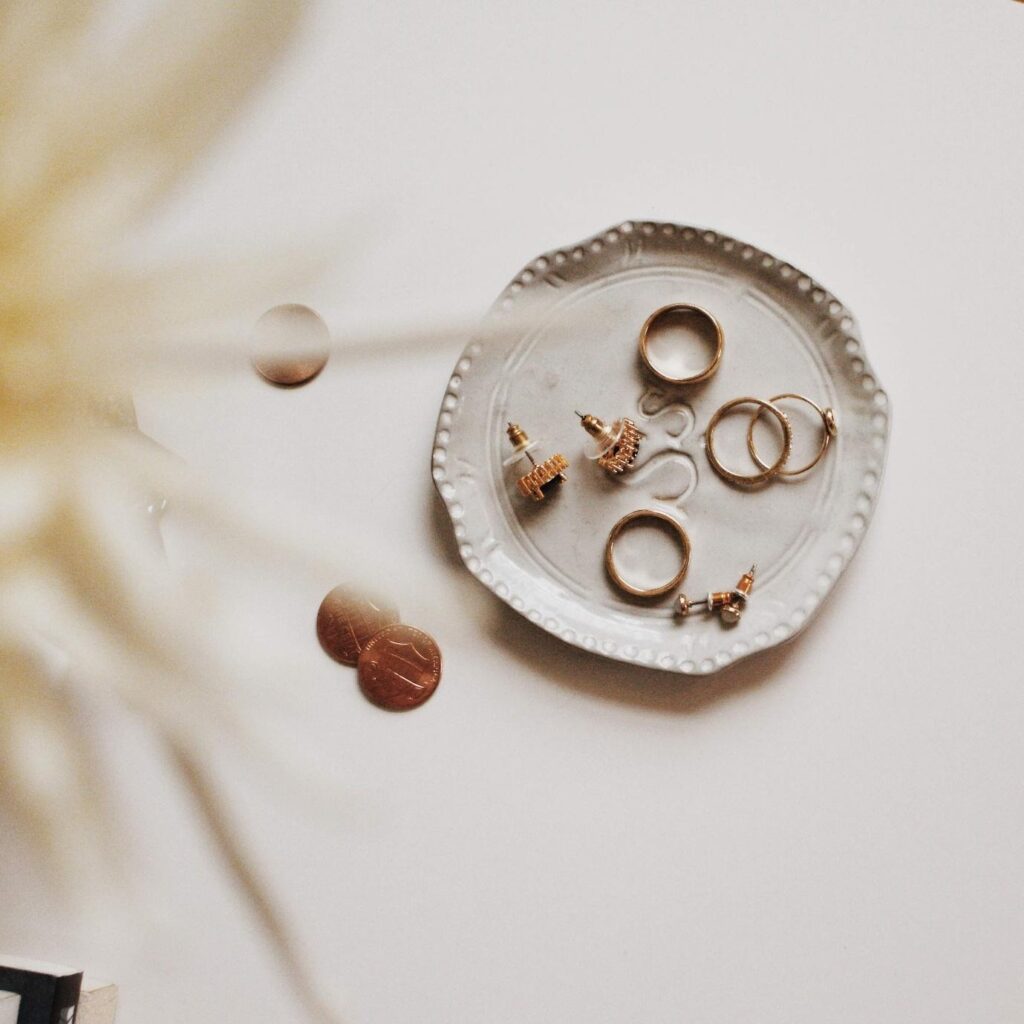
Many eCommerce business owners are scared of jewelry photography because of how little, shiny, and delicate the objects may be.
However, shooting jewelry might be easier than shooting larger objects because the studio equipment is much simpler to put together.
Once you’ve perfected your setup, check out these seven essential items for jewelry photography.

Prepare your props and materials
1. A window and natural light
Using your camera’s flash to photograph gleaming jewelry is never a smart idea! The jewelry will reflect the strong light, resulting in white light spots on your object and sharp shadows in the backdrop.
Unless you’re a very accomplished photographer with a very professional studio, shoot your jewelry product photographs in natural light. When using natural lighting, keep in mind that you want to use the sun as an indirect light source, therefore place your product near a window throughout the day.
Bright sunlight, like a built-in flash, may cause reflections and sharp shadows, so you may wish to filter the light. You may do this by covering the window with a white sheet or piece of paper; any other color will cause the light to change color.
2. Backdrop: White sheet or paper
Because most jewelry is reflecting, it absorbs all other colors, therefore photographed against a white backdrop to prevent changing the color of the piece. White also reflects light, whereas dark colors absorb it, therefore shooting against a white backdrop will provide better lighting for your goods.
Though taking decent product photographs of jewelry is far more difficult than getting decent product photographs of something like a simple blue chair, jewelry does have the benefit of size. To make a white background, you don’t need to stretch a white sheet from wall to wall; simply fold a piece of paper in half and set it up. It’s that easy!
3. Camera and Tripod
During jewelry photography, the lens is more important than the camera itself.
When shopping for your first macro lens, we recommend a lens with a focal length of 60mm.
This focal length helps produce half-life magnification (0.5x), but more costly macro lenses give life-size magnification (described as 1:1).
Investing in a solid tripod for your setup helps ensure that your product images are sharp.
4. A mannequin bust
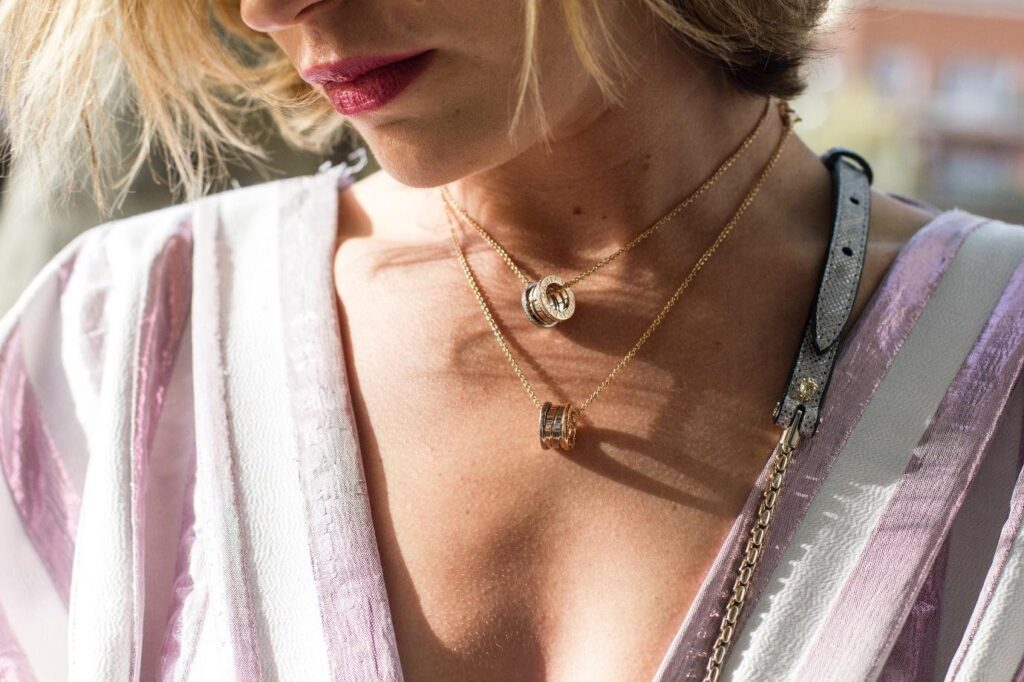
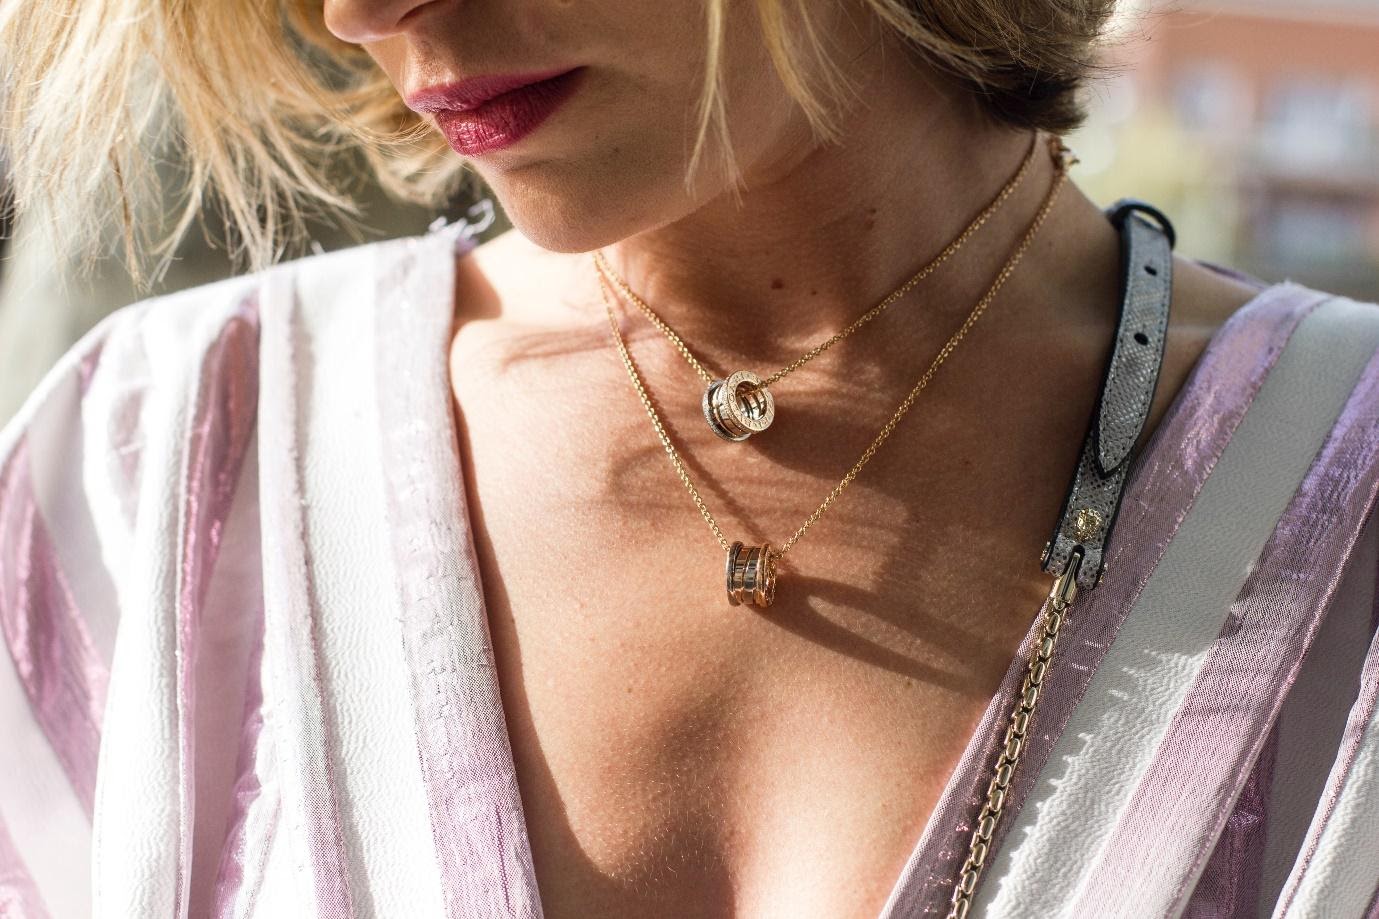
Make use of props to help you show your jewelry in the greatest light possible. Mannequin busts for necklaces are available at most craft stores and are an excellent method to give your items a good and realistic form.
We’ve discovered that most retailers have black busts because they make the jewelry stand out and add a feeling of luxury. However, as I indicated in the previous point, shooting your goods in white will improve its appearance significantly. Jewelry photography is no different. So, if you just have a black jewelry bust, cover it with a white cloth before photographing it. The backdrop can always be removed afterward.

5. Cardboard
What if you don’t have a mannequin? Make a type of jewelry clipboard. Take a piece of cardboard, wrap it with white paper, then pin or tape the ends of your necklace to it. You can always modify the length of the chain by where you clip it, so don’t be concerned about the size unless you have a large piece.
Using cardboard may take a little more time, but like using a mannequin, it highlights the natural curve of the necklace and will appear nice when photographed from the front.
Jewelry Photography Tips
Blu-Tack, glue dots, or double-sided tape
Blu-Tack, adhesive dots, and double-sided tape may be really beneficial when it comes to rings. You may achieve a pretty great viewpoint by standing the rings up horizontally.
String
For dangling earrings, use a fishing line or thread. This takes a little more effort to set up but results in a fantastic snapshot. An excellent suggestion is to take a folded piece of cardboard and stretch the string from one panel to the other, as seen in the figure below. Just make sure your dangling parts have stopped moving before taking the snap.
Keep it consistent
Maintaining consistency in your photos makes it much easier for a customer to browse your merchandise. Implementing a guideline for your team on how to shoot photographs can also help to keep photos consistent. Can you imagine having a distinct style for your website every time you used a new photographer? It would be extremely confusing for the consumer because it would not appear on the brand.
Keep it simple
If you are unsure, keep it simple. Simplicity is key as you want to show off the product and its details. Have a simple clean background on all of your product images. Detailed photos can work great for campaign shoots but when it comes to your online store, you want to keep it simple to make it easy for the shopper to quickly view and visualize the product themselves.
Use a reflector
If you’re shooting beside a window, the light will be coming from one direction alone. By serving as a fill light on the other side, reflectors can help you balance out the shadows. You may provide equal illumination by utilizing a reflector instead of combining light sources.
Capture the details and enable zoom
You will be able to activate zoom on your online store if you can take high-resolution images and capture the intricacies of the item.
Enabling the zoom capability on your website allows customers to click and magnify the image to examine every detail of your goods.
It is critical to reveal the specifics to the consumer so that they are not left wondering what the product’s side or back looks like or what sort of clasp it has.
The consumer will know what to expect when they receive their item if clear photographs are provided.

Final thoughts
With these tips, you can quickly advance from beginner to expert within a short while. Plus, don’t forget to practice them consistently if you’re looking to see improvement in your jewelry photography skills. Check out: Jewelry photography – Tips and tricks that create stunning photos

